How to Charge Your Laptop with a Docking Station
We’ve all been there, juggling an array of adapters, wires, and outlets, hoping our laptop doesn’t die mid-project. Stressful, isn’t it? With a proper docking station, that tangled mess transforms into a single streamlined setup. Click, snap, or slide your laptop into place—whichever action your dock requires—and feel the reassurance of instant power coursing through your device. In this blog post, we’ll reveal exactly how to harness the charging wonders of a docking station. From understanding the basics of power delivery to troubleshooting pesky charging hurdles, we’ve got you covered.

Understanding Charging Capability in Docking Stations
True Power Delivery (PD) is what lets your dock do more than just connect external monitors and peripherals; it actively charges your device. Imagine plugging into a single port and feeling that reassuring surge of energy—no multiple cords, no slow drips of inefficient charging. That’s PD at work. Yet, it’s essential to note that some docking stations, while offering plenty of ports, might not be equipped to play the charging game.
So how do you spot the difference? Look to specifications like wattage output (measured in watts) and USB-C Power Delivery (PD) compatibility. A high-powered dock might offer 60W, 85W, or even more, standing ready to propel your laptop’s battery from limp to lively. Modern USB-C and Thunderbolt docks often flaunt PD, but always check the fine print—some might max out at 30W, perfect for a light ultrabook but woefully inadequate for a powerhouse workstation.
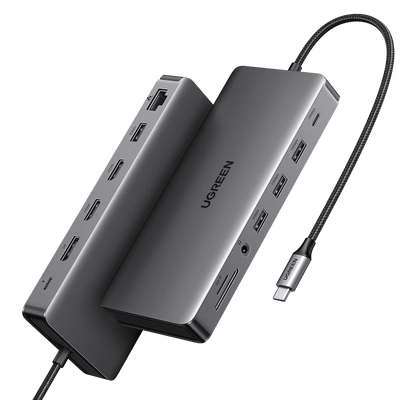
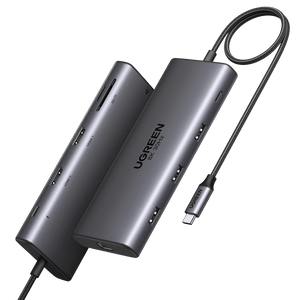
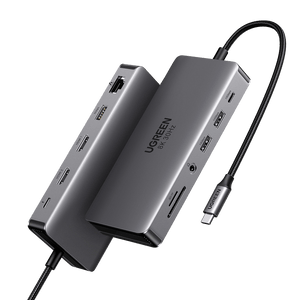
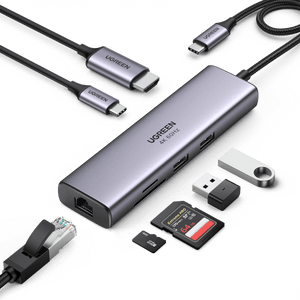
For instance, the UGREEN Revodok Pro 312 Docking Station offers 100W Power Delivery, ensuring rapid charging for even the most demanding laptops.
{{UGPRODUCT}}
How to Ensure Your Docking Station Can Charge Your Laptop
-
Check Your Laptop’s Ports
Slide your fingertips over the smooth edges of its chassis, searching for that tiny USB-C emblem or a lightning-bolt icon. Not all USB-C ports are created equal; some transmit data alone, while others handle power with ease. If your laptop’s port can transmit power, congratulations: you’ve cleared the first hurdle.
-
Review Your Docking Station’s Wattage Specifications
A little label or a line in the product manual often reveals its power delivery potential: 30W, 60W, or even 100W. Think of these ratings as the flow of a faucet—too weak, and your battery trickles upward at a snail’s pace; too strong, and yet again you’re fine, because most modern laptops intelligently regulate their intake.
-
Use Quality Cables
Worn-out, low-quality cords are the quiet culprits of countless charging woes. Certified USB-C cables, carefully crafted to handle higher wattages, give you peace of mind and a swift influx of power. Seek out reputable brands, look for official certification marks, and avoid no-name cables that promise the moon but deliver spotty charging at best.
{{UGPRODUCT}}
Quick Checklist:
- Does your laptop support charging through USB-C or a dedicated power port?
- Is your docking station rated for enough wattage to feed your laptop’s needs?
- Are you using quality cables that safely handle the power requirement?
Step-by-Step Guide to Enable Charging Through Your Docking Station
Step 1: Connect the Docking Station to a Reliable Power Source
Find a steady outlet—avoid dim, flickering power strips that complain under load. Gently push the dock’s power plug in until you feel that solid, reassuring click. Pause for a moment, and listen. Perhaps you’ll hear a faint hum or see a subtle LED spring to life—signs that power is definitely flowing.
Step 2: Use the Correct Cable to Connect the Docking Station to the Laptop
Select a cable that matches both your laptop’s port and the dock’s output specifications. Hold it in your hand. Notice its thickness, its sturdiness. Low-quality or frayed cables can sabotage your charging dreams, so invest in one that’s built to last. Slide the connector tip into your laptop’s port, ensuring a smooth, confident fit—no forcing, no fumbling.
Step 3: Ensure All Connections Are Secure and Check Indicators
Take a breath and glance at any LEDs on your docking station. Blue, green, orange—they vary by manufacturer, but they all whisper one thing: “We’re ready.” If no lights appear, double-check that everything’s snug. A wiggling cable can cause intermittent charging, so press each connection firmly and watch for that stable glow.
Step 4: Adjust Power Settings in the Laptop (If Required)
Now, wake your laptop and peek at its system settings.
- Windows: Go to “Power & Sleep”
- macOS: Open “Energy Saver”
Some devices feature specialized adjustments for USB-C charging or external power sources. Occasionally, an outdated driver or firmware can degrade charge performance—updating might banish those woes in an instant.
Step 5: Verify Charging Status
Finally, hover your gaze over the battery icon. Does it display a charging symbol or a rising percentage? Breathe easy if yes—you’re officially powering up. If not, resist frustration. Retrace your steps, test another outlet, or consult the upcoming troubleshooting section. Nine times out of ten, a simple reconnection or driver update resolves the hiccup.
Safety Considerations
Overheating and Fire Hazards
Gently place your hand on the dock after it’s been running a while. A mild warmth can be normal, but if you flinch from a sting of intense heat, that’s a glaring red flag. Disconnect immediately. Inspect your cables for scorch marks or melted plastic—a sight no one wants to see twice. Click to read more: Why Does My Phone Get Hot While Charging?
Certified, Not Counterfeit
Cheap though they may be, uncertified docks can court catastrophe. Seek out recognized safety markings like UL, CE, or USB-IF that certify your device meets rigorous standards. If the dock’s label reeks of poor translations or suspicious brand names, trust your instincts and walk away.
Proper Usage and Environment
A dusty, cramped corner chokes air circulation and may invite that dreaded day when your dock shuts down—or worse. Keep the area around your dock spacious, ensuring heat dissipates. During long weekends away or extended travels, consider unplugging the entire setup. Better safe than scorched.
Routine Maintenance Checks
Look closely. Watch for peeling cable insulation, wobbly connectors, or even a faint “burnt” smell. Clean dust from USB ports carefully with a soft brush or compressed air, never with liquids. Your docking station should remain pristine—a guardian for your laptop, not a hazard.
Streamline Your Charging Experience
Ready to level up?
- Double-check that your station delivers adequate wattage
- Switch cables if you suspect a faulty connection
- Explore the next generation of Thunderbolt docks
The choice is yours, and so is the satisfaction that comes from a calm, uncluttered space. Above all, keep pushing boundaries. Let your docking station be the silent assistant that shapes a future where technology and creativity thrive together, free from the chains of low power warnings.