How to Charge Nintendo Switch: Ensuring Your Console is Always Game-Ready
Understanding "how to charge Nintendo Switch" is essential for gamers who want to keep their console ready for action without any interruptions. This article will not only cover the basics of keeping your Switch powered up but also introduce you to the convenience of using Ugreen products, which offer efficient charging solutions designed to meet your gaming needs.
Understanding the Charging Requirements of Your Nintendo Switch
Properly charging your Nintendo Switch is key to ensuring a long battery life and maximum portability. The console requires a power input of 15V/2.6A when docked, and for handheld mode, it needs a 15V/1.2A input via the AC adapter. Using chargers that meet these specifications is essential for safe and efficient charging.
It's also important to charge your device in the right environment. The ideal temperature for charging your Switch is between 20°C to 25°C. Charging outside this range could negatively impact the battery's lifespan and performance.

Step-by-Step Guide: How to Charge Nintendo Switch
Charging your Nintendo Switch is a straightforward process. Whether you're docking your Switch for a charge or plugging it in directly with an AC adapter, it's important to follow standard methods to keep your console fully powered and ready for use.
How to Charge Nintendo Switch with the Official Dock
Charging your Nintendo Switch using the official dock is the standard method recommended by the manufacturer and ensures that your console is not only being charged but also ready for play on your TV screen. Here's a guide on how to charge Nintendo Switch effectively with the official dock:
Step 1: Connect the Dock
Insert the AC adapter's USB-C end into the dock's "AC ADAPTER" port, then plug it into an outlet.
Step 2: Prep the Dock
Open the dock's back cover to access the cable area. Connect the AC adapter and optionally, an HDMI cable.
Step 3: Dock the Switch
Place the Nintendo Switch into the dock carefully to avoid screen damage. It should click into place.
Step 4: Confirm Charge
Look for the charging icon—a lightning bolt over the battery level—to ensure it's charging.
Step 5: Charging Time
Leave the console in the dock to charge. Full charging usually takes around 3 hours.
Step 6: Check Charge Level
Press the Home button on your controller to see the battery status on the Home screen.
Tips for Effective Charging with the Official Dock
- Use Official Accessories: For best results, use the official Nintendo Switch dock and the AC adapter that came with your console. These are specifically designed to charge your Switch safely and efficiently.
- Ventilation: Make sure your dock is placed in a well-ventilated area to prevent overheating during charging and gameplay.
- Dock Carefully: Always dock your Switch gently to avoid scratching the screen or damaging the USB-C port.
- Regular Updates: Keep your console's software updated to ensure you have the latest optimizations for battery life and charging.

Direct Charging: How to Charge Nintendo Switch with an AC Adapter
Charging your Nintendo Switch directly with an AC adapter is a convenient option, especially when you are on the go or if the official dock isn't available. For a reliable and efficient charging experience, using high-quality cables like those from UGREEN can make a difference. Here’s the process:
Step 1: Locate the Charging Port
Identify the USB-C charging port at the bottom of the Nintendo Switch.
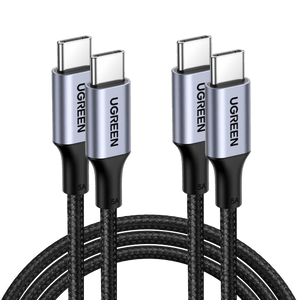
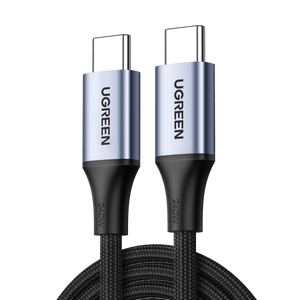
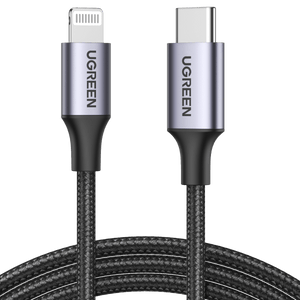
Step 2: Use a UGREEN USB-C Cable
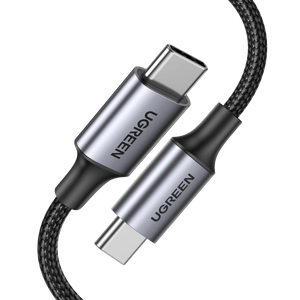
Connect a UGREEN USB-C cable to the charging port of your Nintendo Switch. UGREEN cables are known for their durability and adherence to safety standards, which is crucial for protecting your device.
Step 3: Connect the AC Adapter
Attach the other end of the USB-C cable to the Nintendo Switch AC adapter. Then plug the adapter into a wall socket.
Step 4: Confirm Charging Status
Look for the charging symbol on the Switch's screen—a battery icon with a lightning bolt—to ensure that the device is charging.
Tips for Using Cables for Direct Charging
- Official Adapter: Pair your cable with the official Nintendo Switch AC adapter for optimal compatibility and safety.
- Cable Integrity: Regularly inspect your cable for any signs of damage or wear to maintain safe charging practices.
- Correct Insertion: Always insert the USB-C connector correctly to prevent damage to the port and ensure efficient charging.
- Avoid Bending: Don't bend the cable excessively at the necks, as this can cause internal damage over time.
- Cable Length: Choose a cable that is long enough to reach from the outlet to your gaming area without stretching or causing a tripping hazard.
On-the-Go Power: How to Charge Nintendo Switch with Ugreen Power Bank
For those who are frequently on the move, a Ugreen power bank is an excellent choice for charging your Nintendo Switch. It provides the portability and convenience needed to keep your console charged no matter where you go.
UGREEN 10000mAh 20W Magnetic Power Bank
This compact and portable power bank offers 20W output, which is enough to charge your Nintendo Switch efficiently. Its magnetic feature is designed primarily for MagSafe compatible devices, but it also includes a USB-C port that can be used to charge your Switch directly using a USB-C cable.

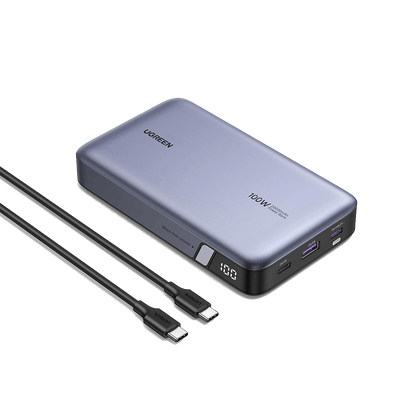
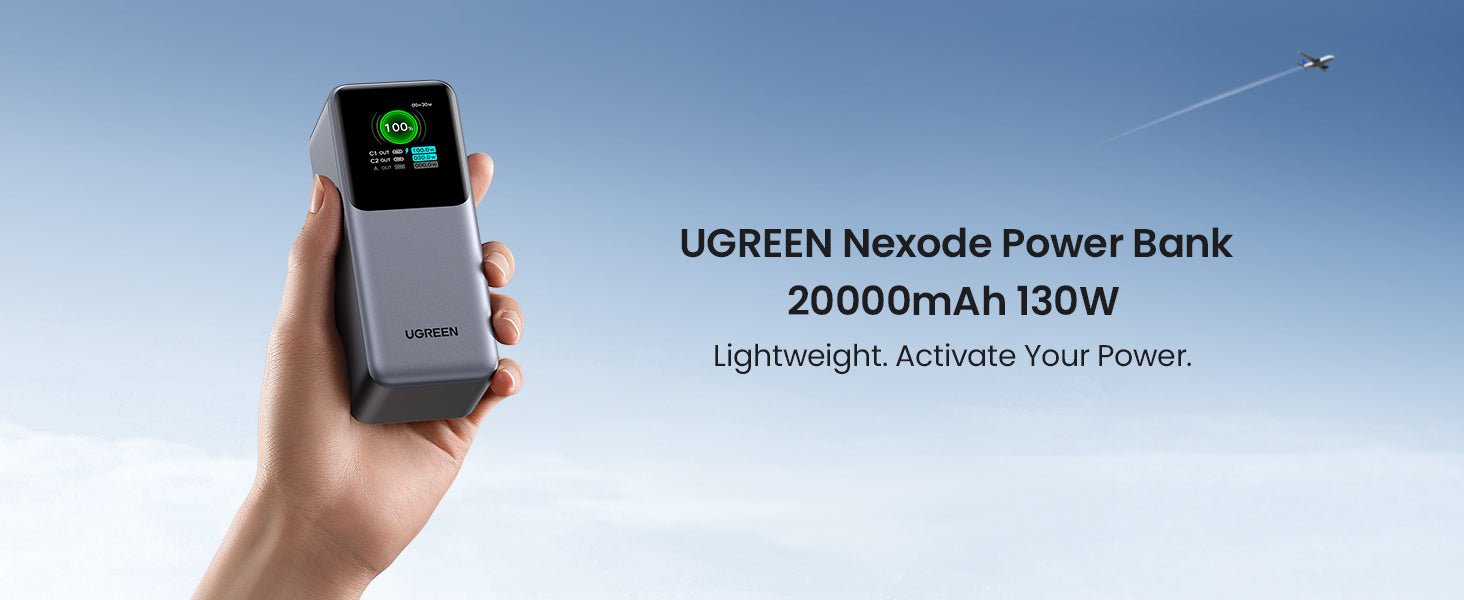
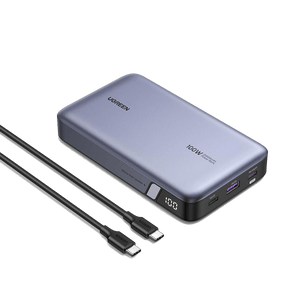
UGREEN Nexode 20000mAh 100W USB C Power Bank
With its high output, the UGREEN Nexode power bank can charge your Nintendo Switch rapidly, ensuring minimal downtime in your gaming sessions. Its large capacity means you can enjoy extended playtime without worrying about finding the next power outlet. Compact and durable, this power bank is an excellent travel companion for gamers on the move.

Safety First: How to Charge Nintendo Switch Safely
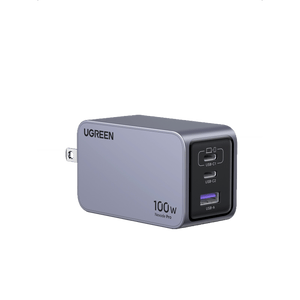
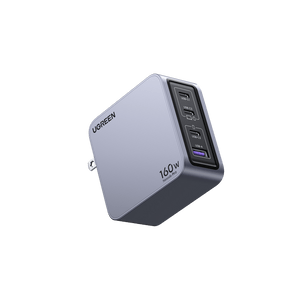
To safely charge your Nintendo Switch, always use the official charger or a certified alternative like UGREEN's power banks that match the console's specifications. Ensure the charging cable is intact and connect it gently to prevent damage to the charging port.
Avoid potential overheating by charging in a ventilated area and placing the Switch on a flat, stable surface. Also, it's advisable not to leave the console on charge after it has reached full battery to maintain battery health.
Conclusion
Throughout this guide, we've covered various aspects of "how to charge Nintendo Switch" effectively. From using the official dock to taking advantage of the portability offered by Ugreen's power bank, there are many ways to keep your console charged and ready for your next gaming session.
Nintendo Switch Charging FAQs
Lastly, let's address some frequently asked questions related to"how to charge Nintendo Switch" to provide you with expert advice on maintaining uninterrupted gameplay and extending the life of your console with trusted Ugreen accessories.
Q1: Can I use a third-party charger for my Nintendo Switch?
A1: Yes, but ensure it's from a reputable brand and certified for use with the Switch, like UGREEN's power bank that offer the correct output for safe charging.
Q2: How long does it take to fully charge a Nintendo Switch?
A2: It typically takes about 3 hours to fully charge a Nintendo Switch using the official AC adapter or a certified equivalent.
Q3: Is it okay to play on my Nintendo Switch while it's charging?
A3: Yes, you can play while charging, but make sure the device is well-ventilated to prevent overheating.
Q4: Can charging my Nintendo Switch overnight harm the battery?
A4: The Switch has built-in features to prevent overcharging, so it's generally safe to charge overnight. However, it's good practice to unplug it once it's fully charged when possible.

